I know it's been a long time coming but I wanted to be done with my project before I addressed it here. So this is the first of a couple of posts- this one will go over the project itself and the next post will cover rendering and the stages I ran through to get everything working so let's dive into it!
| Found on 3D warehouse |
research the references. I wanted something simple but could really shine as a 'hero' asset- that is the focal point of a scene. The wooden train you see to the left is more detailed than my own- I wanted a clean look, polished and simple so it didn't fit.
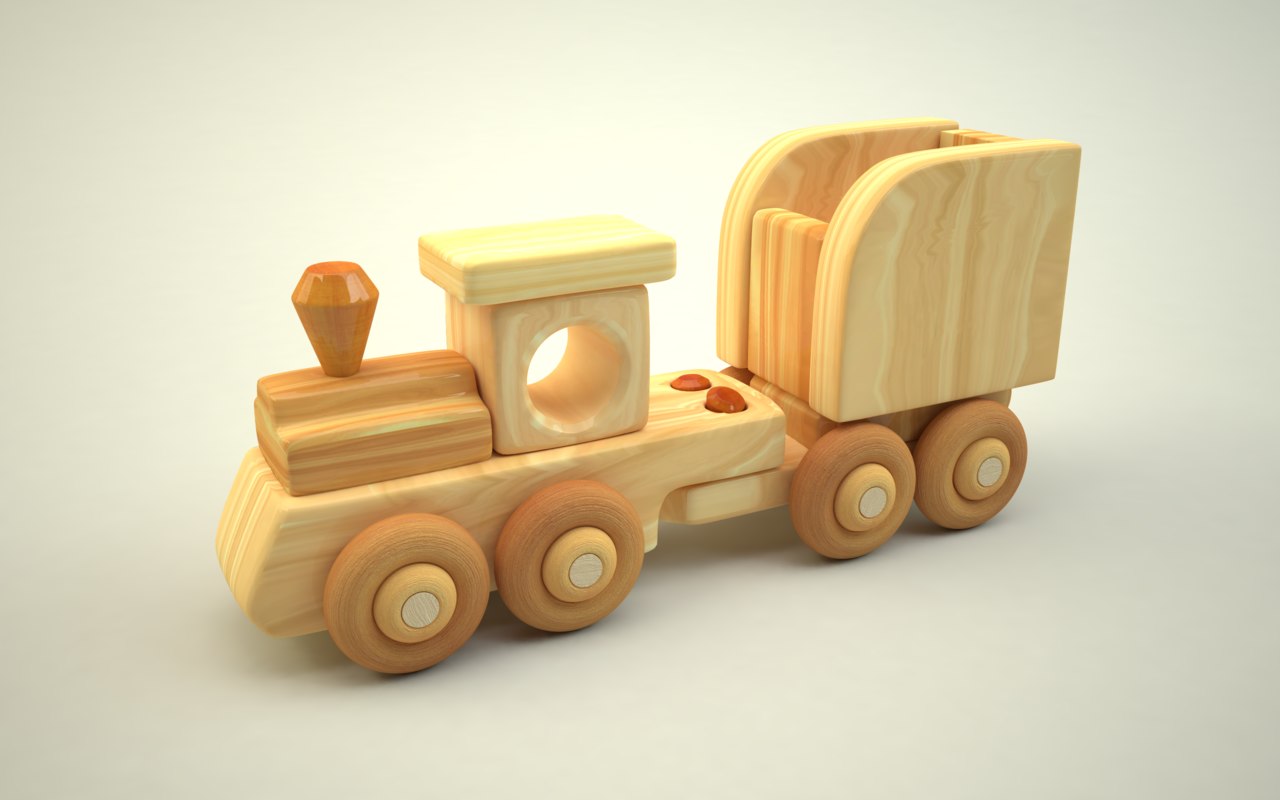 |
| Found @ https://www.turbosquid.com/3d-models/3d-wooden-toy-train-1215533 |
This toy train was another consideration, it was simple and something I felt I could accomplish. I felt that after my previous attempts I needed to get something done to boost my confidence and get a model done and under my belt. I wanted to get the train done.
Next stage was to find something I liked so I took a look on https://www.udemy.com/
and sure enough there was a tutorial about a toy train by Bhaumik Patel (https://www.udemy.com/user/bhaumik-patel-5/) and included in there where two .IFF files with side view and top view of a 3D toy train. So I used those as a foundation, it would have been easy to follow the tutorial 100% of the way through but that would be dry and in my mind uninspired. I took the pasics and built on them- added more detail to the train- built a scene around it, tried to let the animation give it that little bit more character.
So without further ado, here's a final rendered still from the animation
 |
| Final scene Image |
The model itself is simple, blocks and cylinders- for the materials I tried to keep it looking like plastic both body and roof. I did a couple of tests in substance and it looked 'fine' but it wasn't a massive improvement over the basic shaders.
The rest of the scene was made using a previous low poly scene I'd created and what I did was tweak it, and try to expand on the scene. I added more polys overall to the chair and the table- using bevel to achive a smoother look. The cups where created by extruding into a cylinder and creating the handles with a bridge (plus a curve!). The poster and the floor are textured, I wanted to- if I wasn't texturing the hero asset atleast get some form of texture in there. The wooden laminate texture comes from https://photos.com/featured/1-high-quality-high-resolution-seamless-wood-texture-flooring-parquet-kelllll.html
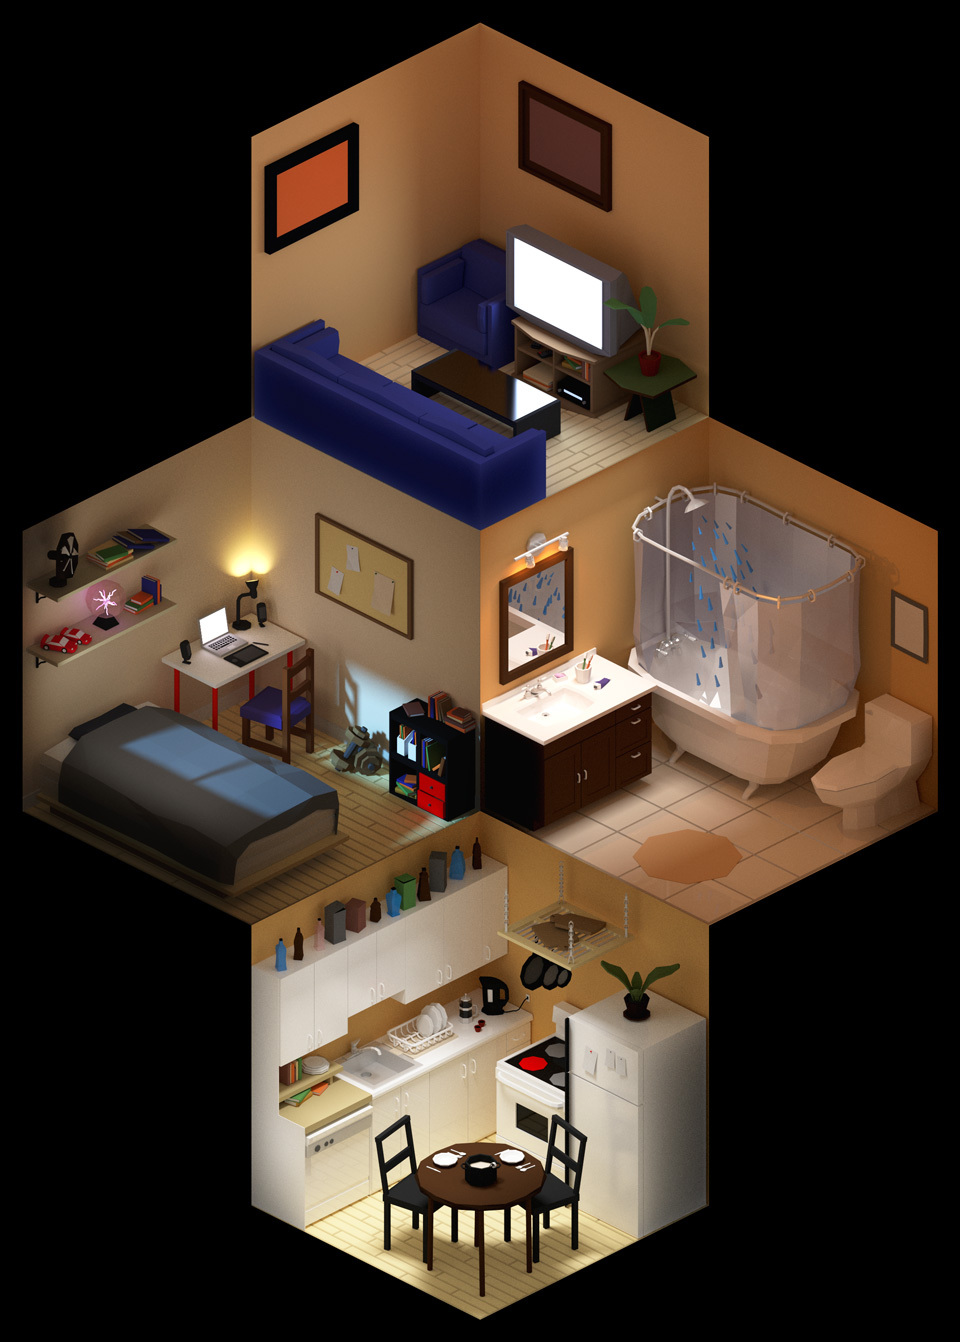
For the scene around the train I looked at 'low poly scenes' such as the one in the video below.
 |
| From https://imgur.com/t/blender_3d/LrIYW |
I also took a look around because I'd seen them done before on social media and I always thought they had a really nice charm to them so I thought I'd try my own take on the idea. I think I hit some of the marks but I would have loved to spend that little bit more extra time really scrubbing up the 'scene' as a whole.
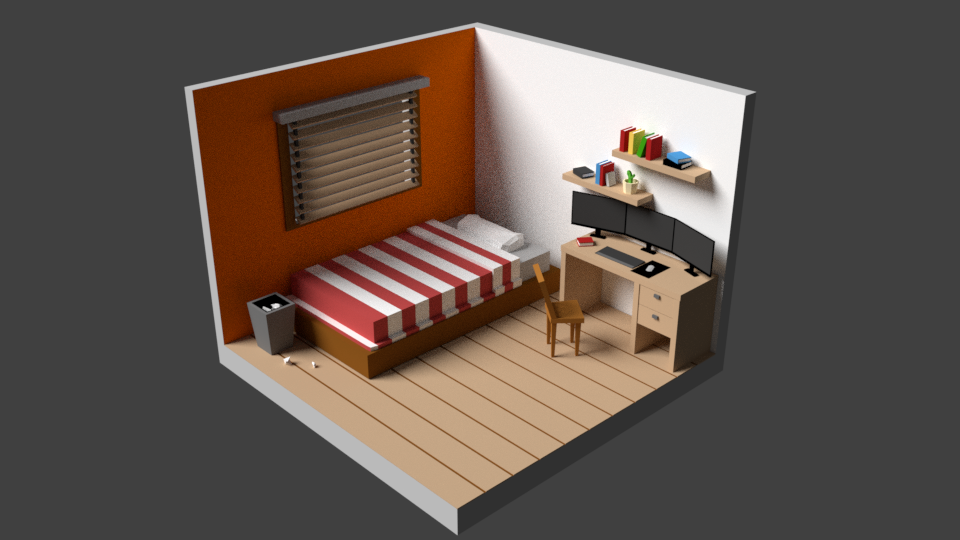 |
| From https://www.deviantart.com/flacokawashiwa/art/Isometric-Low-Poly-Bedroom-737299201 |
Comments
Post a Comment